They’re competitive and loud and rarely respond unless I scream. They’re argumentative and ornery and way too sensitive about the silliest things (He’s looking at me, mom! He’s LOOKING at me!). They push my buttons, push for a later bedtime and always push each other.
Yet, they’re the heart of my home. They breathe so much life, excitement and vigor into my day. And when I catch them sitting together – because they just can’t stand to be apart – I remember that beyond the spats and bickering, they truly are the very best of friends. I am truly blessed to share every second of my day with them. …
 Of course, taking the time to complete a room facelift or renovation is 50% ability, and 50% inspiration! And as part of the very first Home Depot Blog Squad, I am thrilled to be in the company of some of the most inspiring design and decor bloggers in Canada.
 …
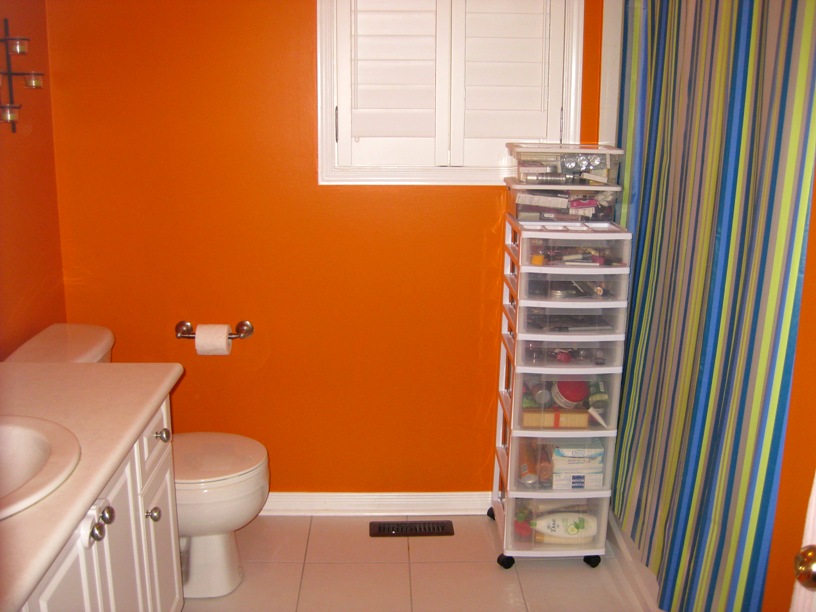
… Since we’ve got four bedrooms and only two children, we have the benefit of having a home office upstairs. Pretty crucial when there’s a blogger in the house! Until recently, we used what the builder termed “Bedroom 4” as our study – its quite large and spacious, and we were able to create a work space, an area for me to scrapbook (a now defunct hobby – there’s just no time!) plus more than enough room for the kids to hang out so I can keep an eye on them. Trouble is, with Ryder growing and requiring more space for his personal effects, we felt it was time to move him into a “big boy’s room”. Before the move, he was in the bedroom beside our own, so having him relocate to the other side of the house has actually been tougher on mommy than him!
 As you can see, the garbage bag was FULL. See the blue storage bin full of books on the left? All chick lit, my friends. Time to put the works of Sophie Kinsella to sleep.
")

")

")


 NOTES
NOTES